
Due to the limitation of IPv4 addresses and to isolate the network of our customers, we change our network setup. We don’t assign a public IPv4 address to every instance.
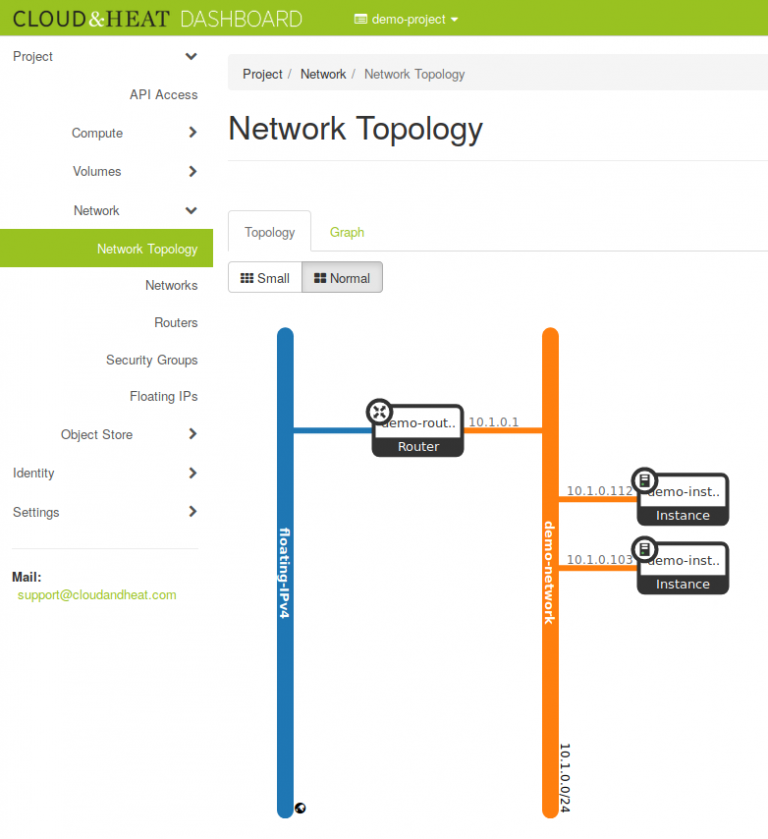
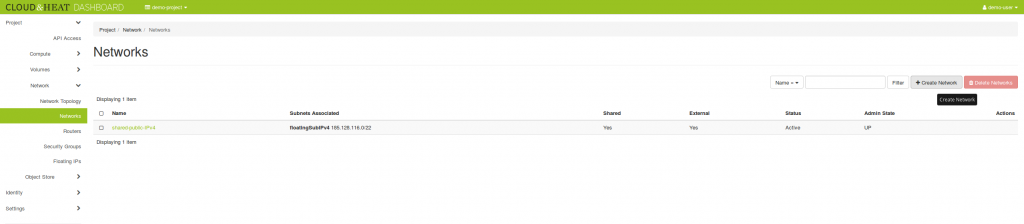
There will be a single external network called “floating-IPv4” (currently “shared-public-IPv4”), acting as a shared public network common to all projects. NO instance will be able to connect to this network after every instance has been migrated to the new setup. Prior to spawning any instances, you need to create at least one private network, using the procedure described in this blog post. Instances can then be created and connected to the private network.
Instances created on the private network don’t get direct connectivity to the extrenal world. To be able to communicate with your instances, you need to assign a floating IP to them. You can reduce the number of floating IPs you use by configuring SSH forwarding on one of your instances to access the other instances in the same private network.
Not every instance needs an IP reachable from the internet and with this private network setup, your network is isolated from the networks and instances of other users and the internet. A private network is only part of one project, but one project can have several private networks.
Network Setup
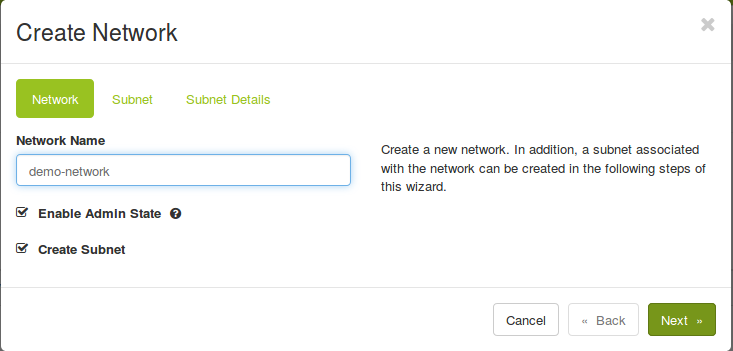
Create a network:
openstack network create demo-network
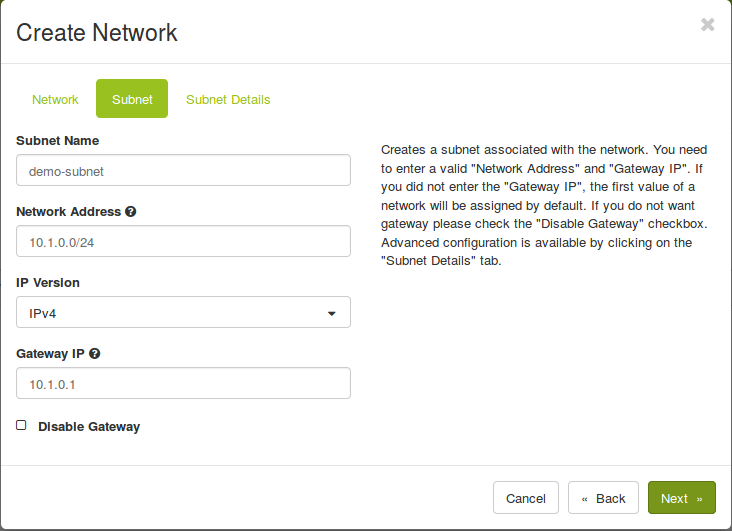
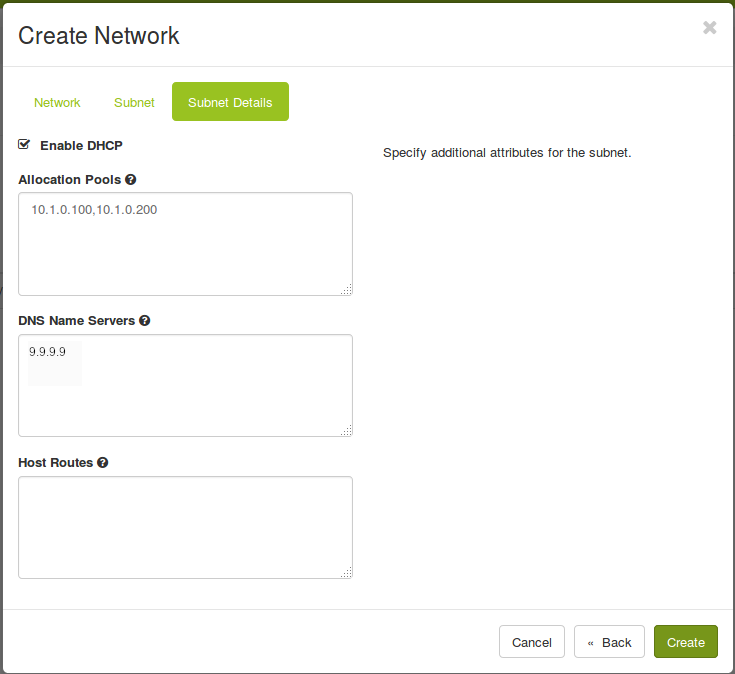
Create a subnet inside the new network. You can choose every networkrange and allocationpool-range you like, but it should be in the private IP address range. You are also free to chose the DNS nameserver you prefer.
openstack subnet create demo-subnet --network demo-network --subnet-range 10.1.0.0/24 --gateway 10.1.0.1 --allocation-pool start=10.1.0.100,end=10.1.0.200 --dns-nameserver 9.9.9.9
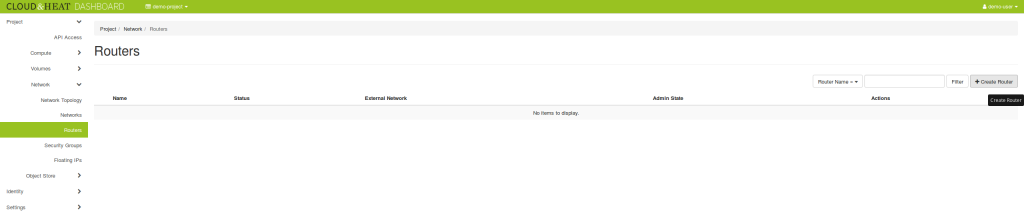
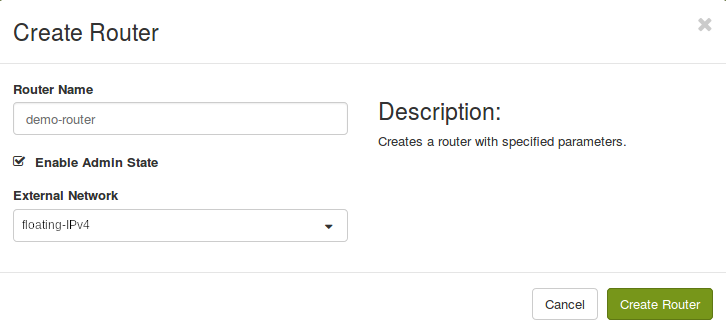
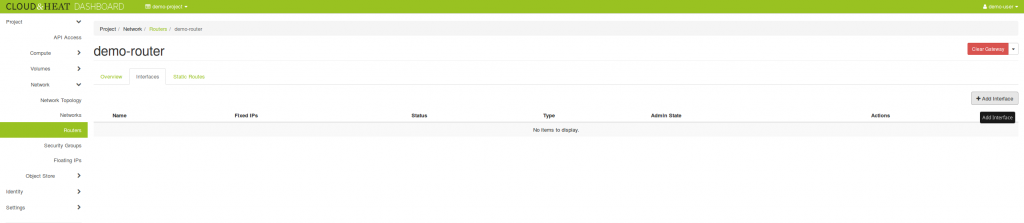
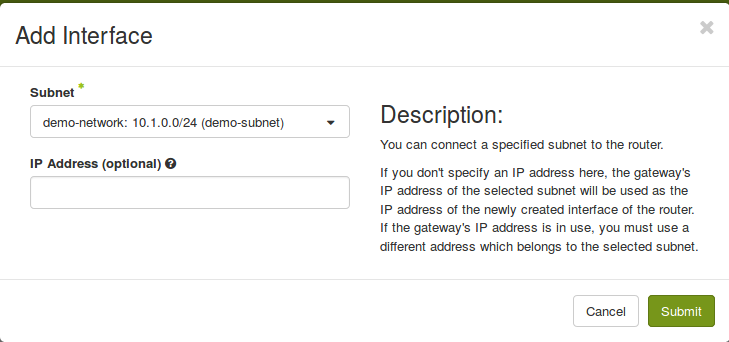
Now create a router to connect the private `demo-network` to the public `floating-IPv4` external network:
openstack router create demo-routeropenstack router set --external-gateway shared-public-IPv4 demo-routeropenstack router add subnet demo-router demo-subnet
Spawn instances
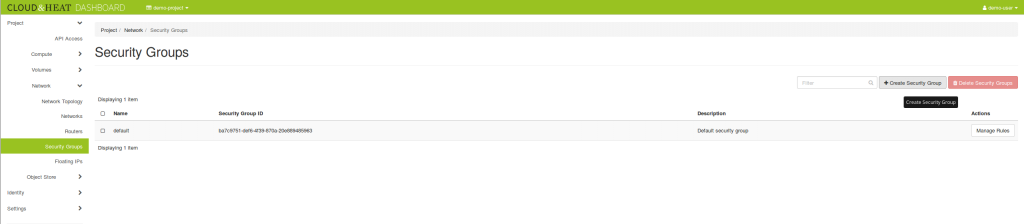
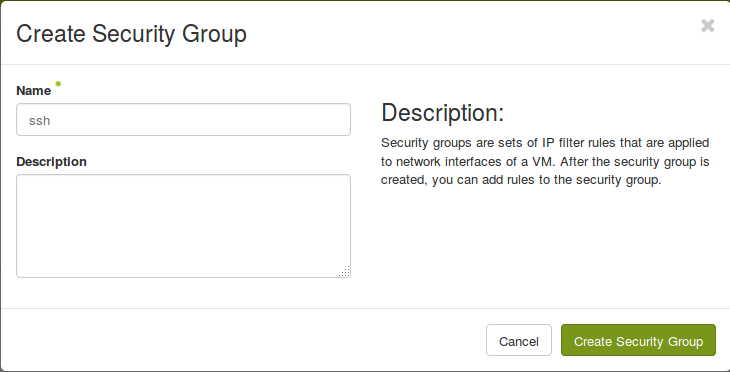
Create a security group
Your project comes with a `default` security group. All egress (outgoing) traffic and intercommunication in the default group are allowed and all ingress (incomming) from outside of the default group is dropped.
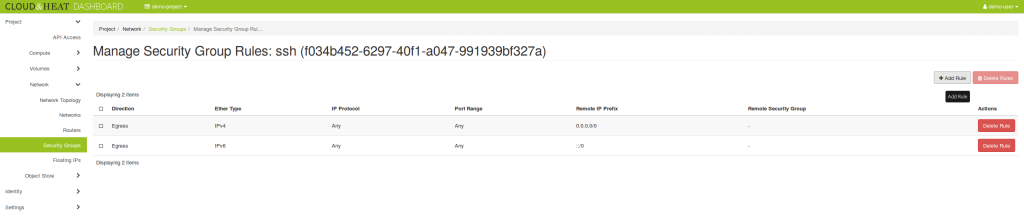
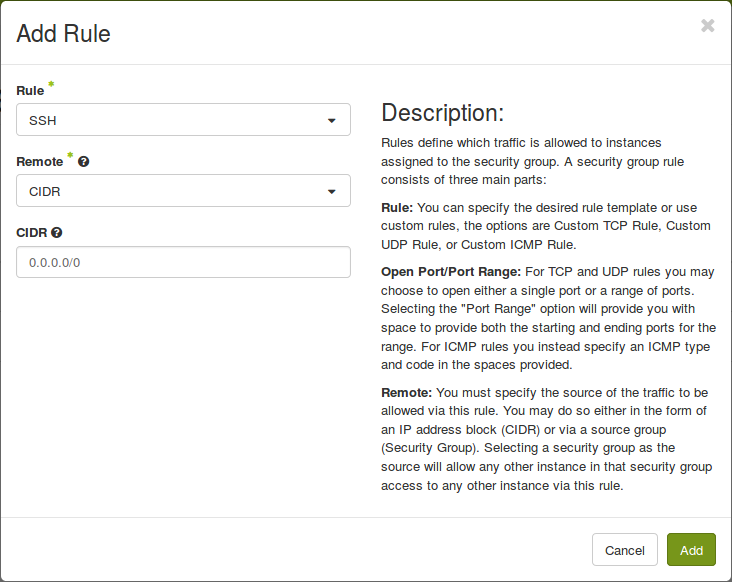
In order to access our instances via SSH, we have to create an additional security group to allow port 22. The incoming ICMP traffic can also be allowed to ping (ICMP) the instances.
openstack security group create ssh openstack security group rule create--protocol tcp--dst-port 22 --ingress ssh openstack security group create icmp openstack security group rule create --protocol icmp icmp

Note : Be carefull with the rules, you allow. For example don’t allow ICMP traffic if you don’t need to.
Note : You should restrict the source IP range, that has access to the instances.
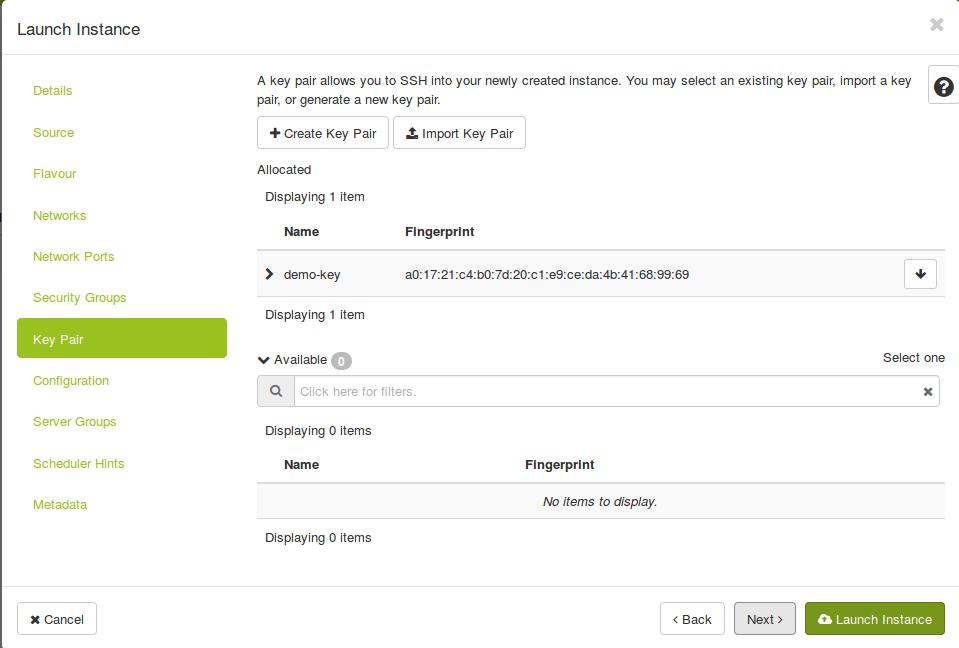
Start Instance
Use DHCP and get any IP
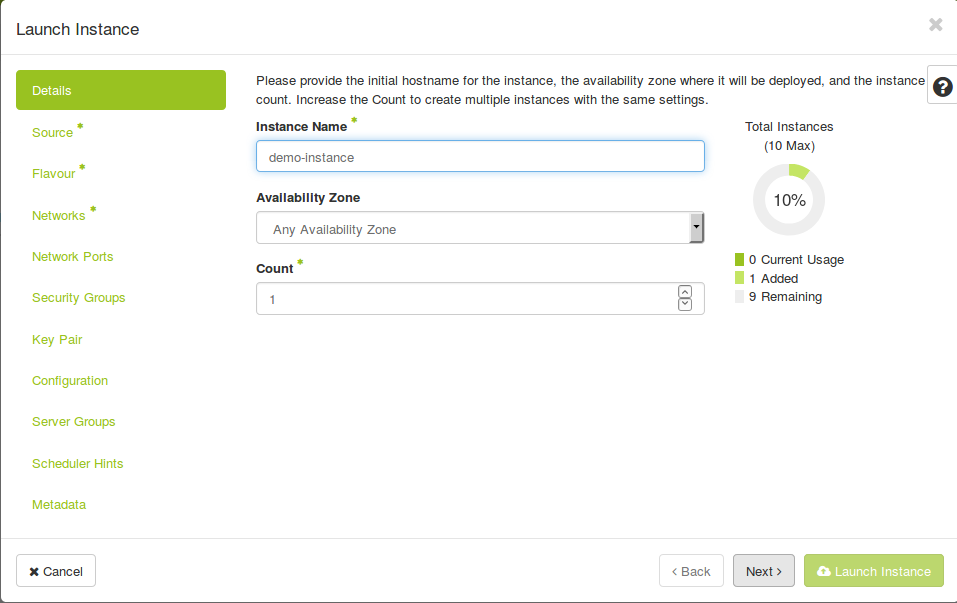
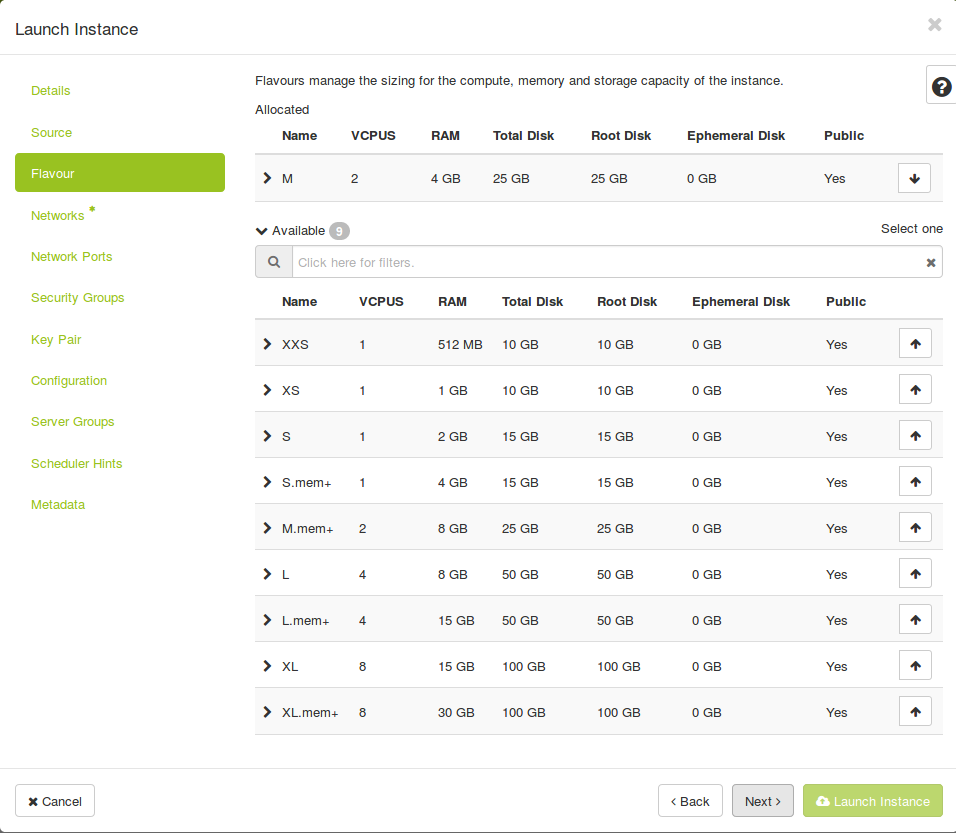
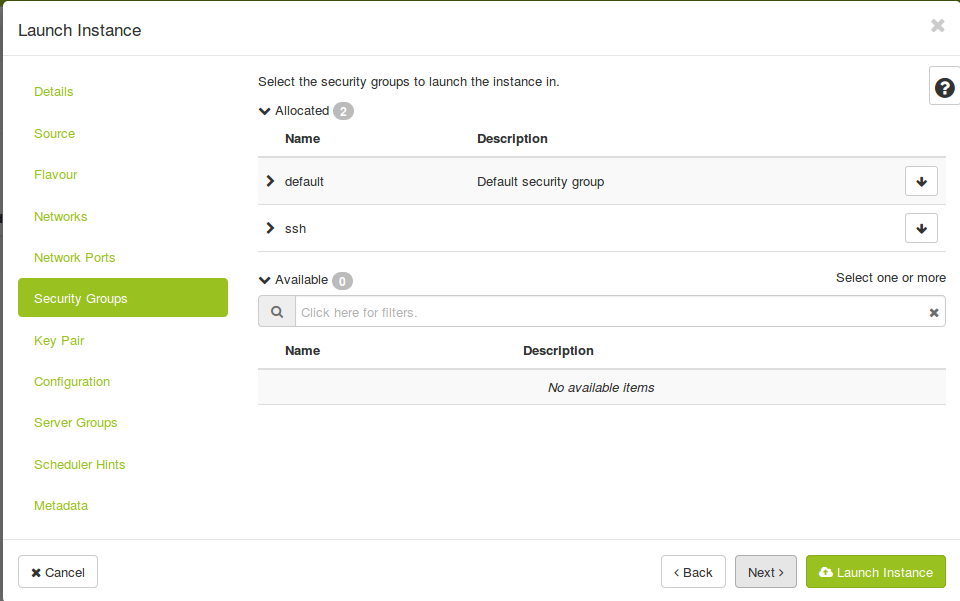
Start an Instance and select the network:
openstack server create --flavor M --image 'Ubuntu 16.04 LTS x64' --key-name demo-key --network demo-network --security-group default --security-group ssh --security-group icmp demo-instance

The instance get an IP via DHCP from the range specified at the subnet creation. To get the private IP of the instance run:
openstack server show demo-instance
| Field | Value |
| OS-DCF:diskConfig | MANUAL |
| OS-EXT-AZ:availability_zone | nova |
| OS-EXT-STS:power_state | Running |
| OS-EXT-STS:task_state | None |
| OS-EXT-STS:vm_state | active |
| OS-SRV-USG:launched_at | 2018-07-05T11:31:51.00000 |
| OS-SRV-USG:terminated_at | None |
| accessIPv4 | |
| accessIPv6 | |
| addresses | demo-network=10.1.0.103 |
| config_drive | |
| created | 2018-07-05T11:28:36Z |
| flavor | M (115) |
| hostId | Ad6cd2f4539ff015324bb735396b3b39b29a17007245cca9810dec70 |
| id | 6bddcf6e-d495-4887-9706-4dcfe0ae3ac2 |
| image | Ubuntu 16.04 LTS x64 (5eaf550b-28eb-46bb-a179-31fb5468c2ef) |
| key_name | Demo-key |
| name | Demo-instance |
| Progress | 0 |
| project_id | 62bf1933f89443bdbe4435a2856d1293 |
| Properties | |
| security_groups | name=’default’ |
| name=’ssh’ | |
| name=’icmp’ | |
| status | ACTIVE |
| updated | 2018-07-05T11:32:18Z |
| user_id | fa7ead99172d475eade844e14b0bc57e |
| volumes_attached |
The ‚addresses‘ field shows all addresses assigned to the instance.
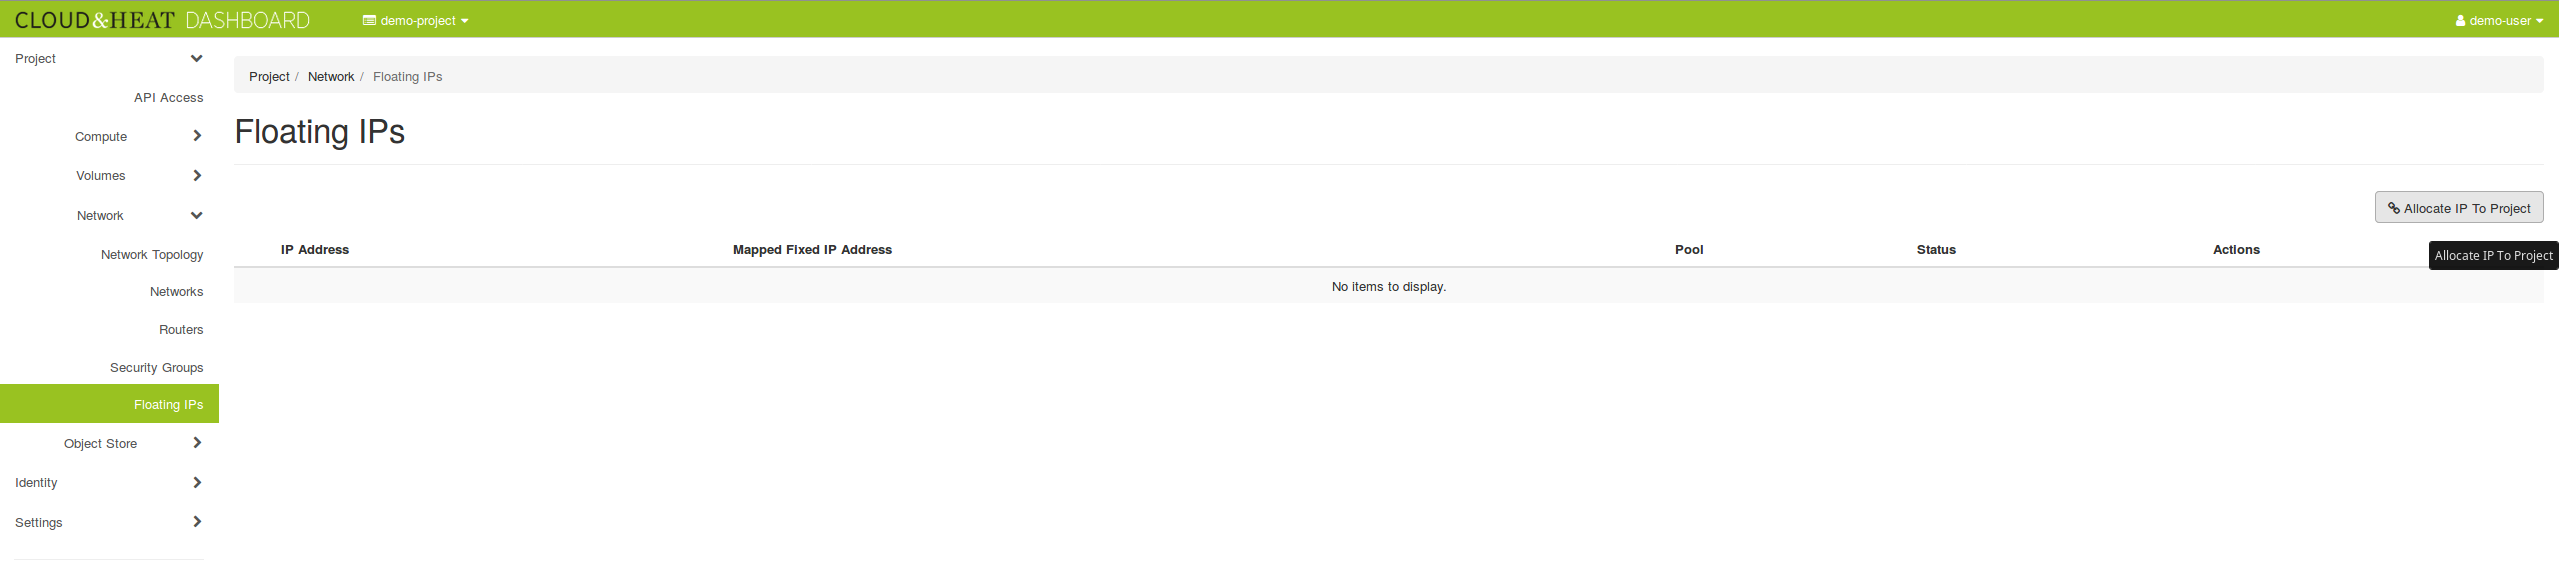
Access the instance
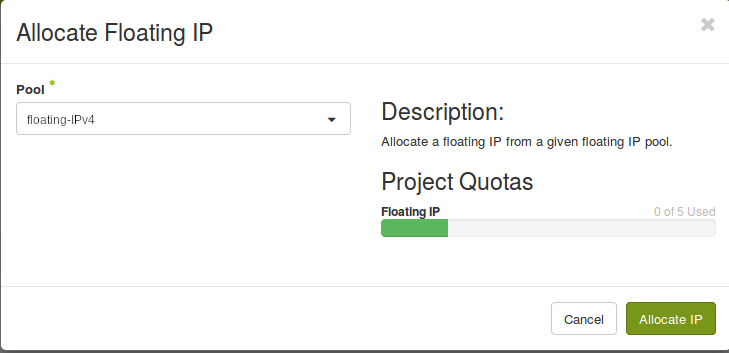
To access the instance from outside the private network, we have to assign it a floating IP. In this example, 10.1.0.103 is the local address of the instance:
openstack port list | grep 10.1.0.103| c9e0fdc4-0db4-4f97-a483-77169a0f7b77 | fa:16:3e:bb:82:78 | ip_address=’10.1.0.103′, subnet_id=’bb34a4bd-fd37-4b52-9833-06aabdc69a47′ | ACTIVE |
openstack floating ip create shared-public-IPv4 --port c9e0fdc4-0db4-4f97-a483-77169a0f7b77

Now you can see the floating IP at the instance details (`openstack server show demo-instance`) and you can ping and SSH it.
The floating IP is connected to the network port. Technically the router does the NATing from the floating to the private IP. So the operating system running in the instance is not aware of the associated floating IP.
In the standard setup, every project has five floating IPs. If you need more floating IPs, please contact us at support@cloudandheat.com